- GitHub
- GitHub Actions
When you develop an application you always have different versions. Each one can be for a specific group of users, for instance the alpha, beta testers and the users in production.
To do that you often have different versions of your application on the same device and you have a different identifier for each versions. This will end up with this kind of problematics:
![]()
As you can see above you can’t easily know on your device which icon correspond to a version of your application. Another solution will be to differenciate the name for each version of your application but if it’s too long it will be probably cut off on display. So why not just add a banner above of your application icon?
Introducing icon badge action
To solve this problem I developed a new GitHub Action called icon-badge-action, easy to use in your workflow and free. This action is based on badge a ruby project that allows you to add badge to your tvOS, iOS and Android project. However this can be useful in any type of project that has an icon, that’s what icon-badge-action is used for.
Basic usage
First of all, go to the GitHub Marketplace and use the Use latest version button to be sure to use the last one.
Then inside your GitHub workflow, you just have to call it like this:
- name: Icon badge
  uses: damienaicheh/icon-badge-action@v1.0.0
  with:
    images-path: '/your-icon.png'
By default the png file will be edited, here is the result of the example code above:

The images-path parameter support patterns to target multiple images at the same time for example: '/**/*.your-path/*.{png,PNG}'. Make sure to add a / at the beginning of the custom path, even if you’re not starting from the root path of your project otherwise it will not work.
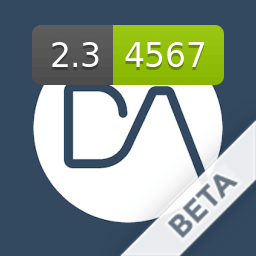
You can also define a shield from shields.io on your icon for instance:
- name: Icon badge with shield
  uses: damienaicheh/icon-badge-action@v1.0.0
  with:
    images-path: '/your-icon.png'
    shield: '2.3-4567-green'
    shield-geometry: +0+25%
    shield-scale: 0.75
    shield-gravity: South
And you will have:
All options overview
Below you can find all options for this action:
- name: Icon badge
  uses: damienaicheh/icon-badge-action@v1.0.0
  with:
    images-path: '/your-icon.png'
    dark: false # Optional. Default is false.
    alpha: false # Optional. Uses the word alpha instead of beta. Default is false.
    alpha-channel: false # Optional. 'Keeps/Adds an alpha channel to the icons' Default is false.
    custom-overlay: 'path-to-your/custom-overlay-file.png' # Overlay a custom image on your icon.
    no-badge: false # Optional. Removes the beta badge. Default is false.
    badge-gravity: # Optional. Position of the badge on icon. Options: NorthWest North NorthEast West Center East SouthWest South SouthEast. Default: SouthEast'
    shield: # Optional. Overlay a shield from shields.io on your icon, eg: Version-1.2-green'
    shield-parameters: colorA=abcdef&style=flat # Optional. Parameters of the shield image. String of key-value pairs separated by ampersand as specified on shields.io, eg: colorA=abcdef&style=flat'
    shield-io-timeout: 10 # Optional. The timeout in seconds we should wait to get a response from shields.io. Default to 10 seconds.
    shield-geometry: +0+25% # Optional. Position of shield on icon, relative to gravity e.g, +50+10%'
    shield-gravity: North # Optional. Position of shield on icon. Options: NorthWest North NorthEast West Center East SouthWest South SouthEast. Default: North
    shield-scale: 0.75 # Optional. Shield image scale factor; e.g, 0.5, 2, etc. - works with shield-no-resize'
    shield-no-resize: false # Optional. Shield image will no longer be resized to aspect fill the full icon. Instead it will only be shrunk to not exceed the icon graphic. Default is false.
    images-path: /**/*.appiconset/*.{png,PNG}  # Optional Glob pattern for finding image files. Default: CURRENT_PATH/**/*.appiconset/*.{png,PNG}. Should start with /'
    grayscale: false # Optional. 'Whether making icons to grayscale. Default is false.
    custom-command: # Optional. Your custom badge tool command. This will override all the previous parameters
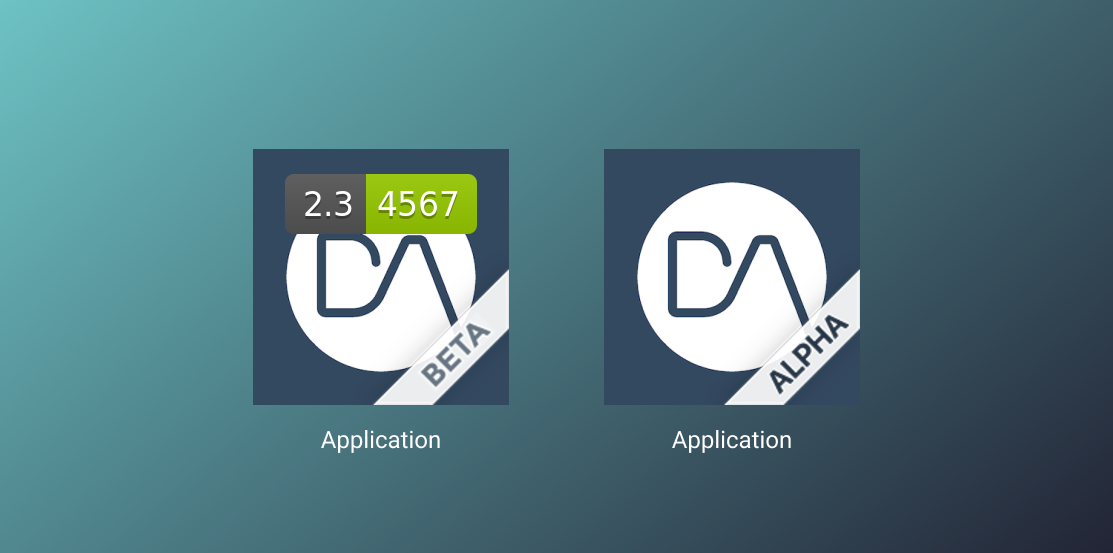
Here you have some examples of what you can do:
![]()
The last one is a combination of the icon and a custom overlay. You can find multiple example of the usage of this action in the workflow sample of the GitHub repository.
Advanced mode
If you already know badge you can directly apply your custom command like this:
- name: With custom command
  uses: damienaicheh/icon-badge-action@v1.0.0
  with:
    custom-command: --grayscale --shield "Version-0.0.3-blue" --dark --glob /samples-image/icon-custom-command.png
Final touch
Now you know how to easily customize your application icons depending on version.
You will find examples of use in the sample workflow of the Github project repository. Feel free to contribute to this project if you want.
Happy coding!