- Azure DevOps
- Terraform
In this tutorial we will see the first steps to automatically create a project inside Azure DevOps using Terraform.
This tutorial is part of a full series of tutorials on configuring Azure DevOps using Terraform.
Project structure
Let’s create a dedicated Terraform project called set_up_azure_devops with this structure inside:
| - set_up_azure_devops
   | - .env
   | - .gitignore
The .env file must not be versioned because it will contains the credentials to access Azure DevOps. The .gitignore will contains all terraform files that we want to ignore. It will look like this:
.env
.terraform
*.tfstate
**/*.lock.*
**/*.tfplan
*.dev.tfvars
terraform.tfplan
terraform.tfstate.backup
plan.out
Get credentials
To interract with Azure DevOps, the Terraform provider needs two things:
- The Azure DevOps url which is formated like this:
https://dev.azure.com/YOUR_ORGANISATION - An Access Token that must be created inside Azure DevOps
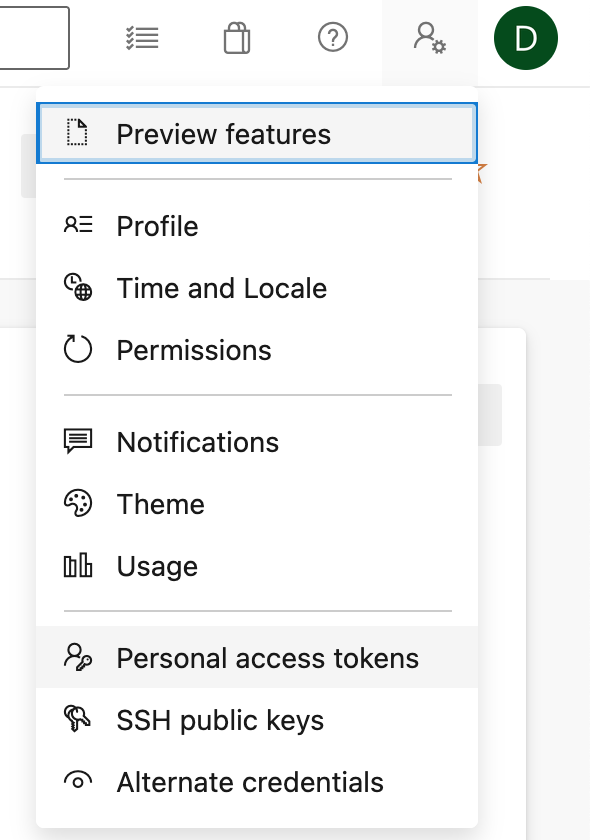
To create it, go to your account and select Personnal Access Tokens:
Click New Token then create a new personal access token. For the purpose of this tutorial and to keep it simple you can choose Full access scope, it will work but may provide more access than you need. When you will be more confident about what you want to do you can go back to it and enable only the scopes that are useful for you.
For Linux and Mac machine, go to the .env file and add our values like this:
export AZDO_ORG_SERVICE_URL=https://dev.azure.com/YOUR_ORGANISATION
export AZDO_PERSONAL_ACCESS_TOKEN=YOUR_ACCESS_TOKEN
The goal of this .env file is to expose those environment variables on your machine. To do this just run this command:
source .env
After that if you run:
env
You should see the two environment variables in your terminal. You are now ready to create your first project Azure DevOps with Terraform!
If you are using Windows use the
Setcommand to expose these environment variables.
Define the Azure DevOps provider
Let’s create a provider.tf file and declare the microsoft/azuredevops provider in it:
terraform {
  required_providers {
    azuredevops = {
      source  = "microsoft/azuredevops"
      version = ">=0.2.0"
    }
  }
}
The credentials that you previously setup will be automatically written by the provider when you will run a terraform init command.
Define the project
Next step, you can define a new file called project.tf and declare the type of project you want:
resource "azuredevops_project" "this" {
  name            = var.project_name
  visibility      = "private"
  version_control = "Git"
  features = {
    "boards"       = "enabled"
    "repositories" = "enabled"
    "pipelines"    = "enabled"
    "testplans"    = "disabled"
    "artifacts"    = "disabled"
  }
}
As you can see, the name of the project is a variable that we will declare in the next section. To give you an example, all the features are not enabled for this project. You can find all the properties available in the Terraform documentation.
Define the project name variable
Finally you can add the project_name variable in a specific file called variables.tf:
variable "project_name" {
  description = "The project name to create"
  type        = string
}
Run Terraform
Let’s give it a try, first initialize Terraform:
terraform init
Run the plan command with the name of the project as a variable, (we will see in the next tutorials how to manage all input variables with a file):
terraform plan -var 'project_name=YOUR PROJECT NAME' --out=plan.out
And finally apply the plan.out file:
terraform apply plan.out
As result you should see your project created inside Azure DevOps!
Final touch
You managed to create your first project inside Azure DevOps using Terraform. You will find full source code in this Github repository.
What’s next?
In the next tutorial of this series we will focus on creating repositories!