- Azure
- Azure DevOps
- Xamarin
In this tutorial we are going to show the first step of a complete Continuous Delivery of your mobile application: Run Unit Tests!
This tutorial is part of a full series of Azure DevOps tutorials using a Xamarin.Forms application as example.
Doing some Unit Tests in your project is essential because it:
- ensures not to break previous feature.
- ensures a high quality of code.
- will be easy to maintain.
- validates your architecture.
Even if you just cover only some part of your code, it’s better than nothing. It is recommended to start doing tests on the most critical part: your business logic. If you cover correctly this part, it will validate partially your views.
Keep that in mind and let’s get started!
Setup your pipeline
Let’s go to Azure DevOps and create a new pipeline.
Inside the Pipelines tab create a New pipeline and follow the 4 steps to get the source code from the correct repository. Azure DevOps will automatically create a new azure-pipelines.yml at the root of your project folder. This is where the job definition will be set and then interpreted by Azure DevOps.
Your solution should have a project that runs your Unit Tests, like any other .Net project you need to restore the packages before to be able to run your tests:
trigger:
  - master

pool:
  vmImage: "macOS-10.14"

steps:
  - task: NuGetToolInstaller@1

  - task: NuGetCommand@2
    inputs:
      restoreSolution: "**/*.sln"
Build your project
With our Nugets packages ready we can now build our test project using the DotNetCoreCLI@2 task.
- task: DotNetCoreCLI@2
  displayName: Build
  inputs:
    command: build
    projects: "$(projects)"
    arguments: "--configuration $(buildConfiguration)"
Add the variables on top of your steps and declare the buildConfiguration and the projects path for your Unit Tests like so:
variables:
  - name: buildConfiguration
    value: "Release"
  - name: projects
    value: "$(Build.SourcesDirectory)/XamarinDevOps.Tests/*.csproj"
Run and publish your Unit Tests
The project is set up and compiled correctly, we can now run the tests and publish them. Previously we used the DotNetCoreCLI@2 task but this time instead of using the build command we will use the test one:
- task: DotNetCoreCLI@2
  inputs:
    command: test
    projects: "$(projects)"
    arguments: "--configuration $(buildConfiguration)"
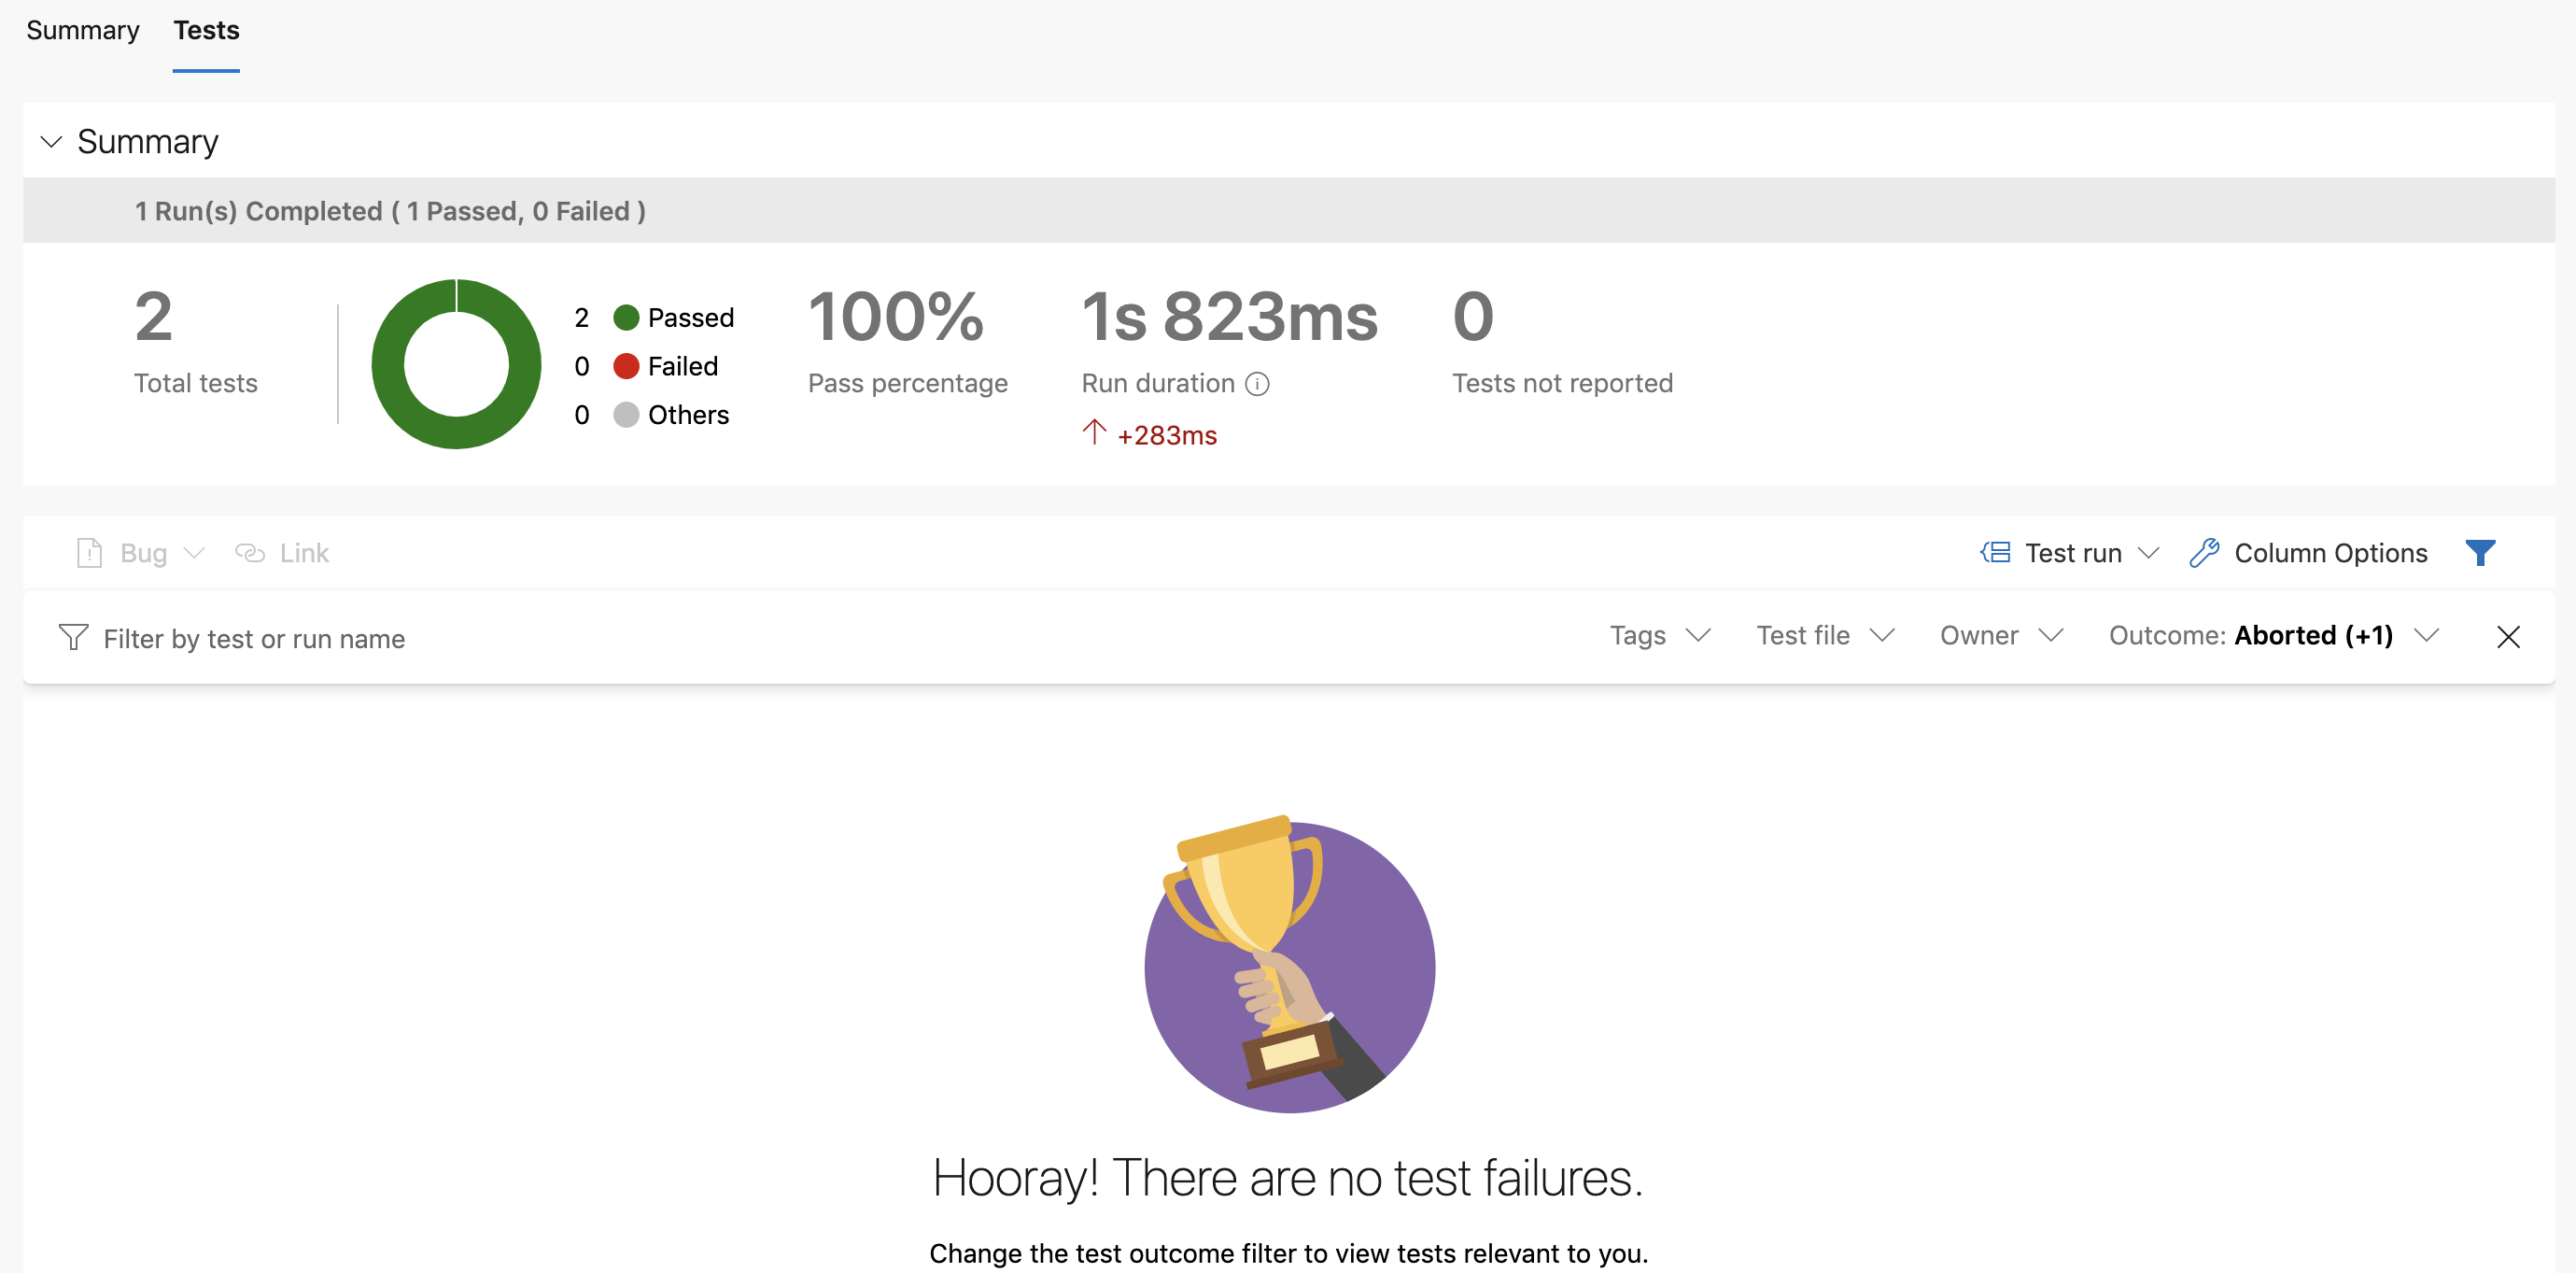
Now if you run your pipeline you will be able to see the result of your Unit Tests if you click on the percentage of the result like bellow:

You will see a resume of the tests passed or failed for your pipeline:
Create reusable templates
With our pipeline working fine, it’s time to going more further. Next step is to create yaml templates, so you will be able to reuse it as you want in future projects.
As you can see in what we did previously, we have two big steps:
- Restoring the packages
- Run and publish tests
So let’s create a reusable template for these two steps!
The initialize template
Create a new folder called templates, at the root of your project folder and a new file called init_restore.yml, this will manage the restore step:
parameters:
  solutionPath: ''

steps:
- task: NuGetToolInstaller@1
- task: NuGetCommand@2
  inputs:
    restoreSolution: '${{ parameters.solutionPath }}'
As you can see above, the template just need one parameter : solutionPath to run.
Unit Tests template
Next, create another file called run_unit_tests.yml in the same directory and add these steps:
parameters:
  solutionPath: ''
  projects: ''
  buildConfiguration: ''

steps:
  - template: init_restore.yml
    parameters:
      solutionPath: '${{ parameters.solutionPath }}'

  - task: DotNetCoreCLI@2
    displayName: Build
    inputs:
      command: build
      projects: '${{ parameters.projects }}'
      arguments: '--configuration ${{ parameters.buildConfiguration }}'

  - task: DotNetCoreCLI@2
    inputs:
      command: test
      projects: '${{ parameters.projects }}'
      arguments: '--configuration ${{ parameters.buildConfiguration }}'
As you can see we reuse the init_restore.yml as a template, then we add the specific tasks to run Unit Tests. Like the previous one we add the necessary parameters for this template.
Final touch
Now your pipeline is more concise, when you apply your templates:
trigger:
  - master

pool:
  vmImage: 'macOS-10.14'

variables:
  - name: solutionPath
    value: '**/*.sln'
  - name: buildConfiguration
    value: 'Release'

steps:
  - template: templates/run_unit_tests.yml
    parameters:
      solutionPath: '$(solutionPath)'
      projects: '$(Build.SourcesDirectory)/XamarinDevOps.Tests/*.csproj'
      buildConfiguration: '$(buildConfiguration)'
It’s easy to use, just fill the parameters with the values corresponding to your project and it will be working!
This approach gives you more flexibility and saves you plenty of time between your projects.
What’s next?
In the next tutorial of this series we will focus on nightly builds!
Sources:
You will find full source code in this Github repository in the run_tests branch.
Happy coding!
You liked this tutorial? Leave a star in the associated Github repository!